What is Continuous Integration Testing?
Continuous Integration Testing (CI) is an essential practice in automated testing that focuses on frequent integration and testing of code changes. It brings numerous benefits to the development and testing process, including early bug detection, faster feedback loops, and improved code quality. Integrating Headway with popular CI tools like Jenkins allows for seamless automation of the CI process.
In this blog post, we will walk through the process of integrating Headway with Jenkins for seamless Continuous Integration and Deployment (CI/CD). We'll cover the prerequisites, configuration steps, and execution of a Jenkins job for running a test suite. By the end, you'll have a clear understanding of how to set up and execute CI/CD workflows using Jenkins and Headway.
Prerequisites
Before getting started, ensure that you have the following prerequisites installed on your system:
- Jenkins: Install Jenkins from the official website link.
- Java: Install Java by following the instructions provided here.
- Maven: Install Maven by referring to the official installation guide here.
- Git: Install Git using the official download page here.
Install Plugins in Jenkins
- Open your Jenkins portal and navigate to "Manage Jenkins" >"Manage Plugins".
- Under the "Plugin Manager", click on the "Available" tab
- Search for "Git plugin" and check if it is already installed.
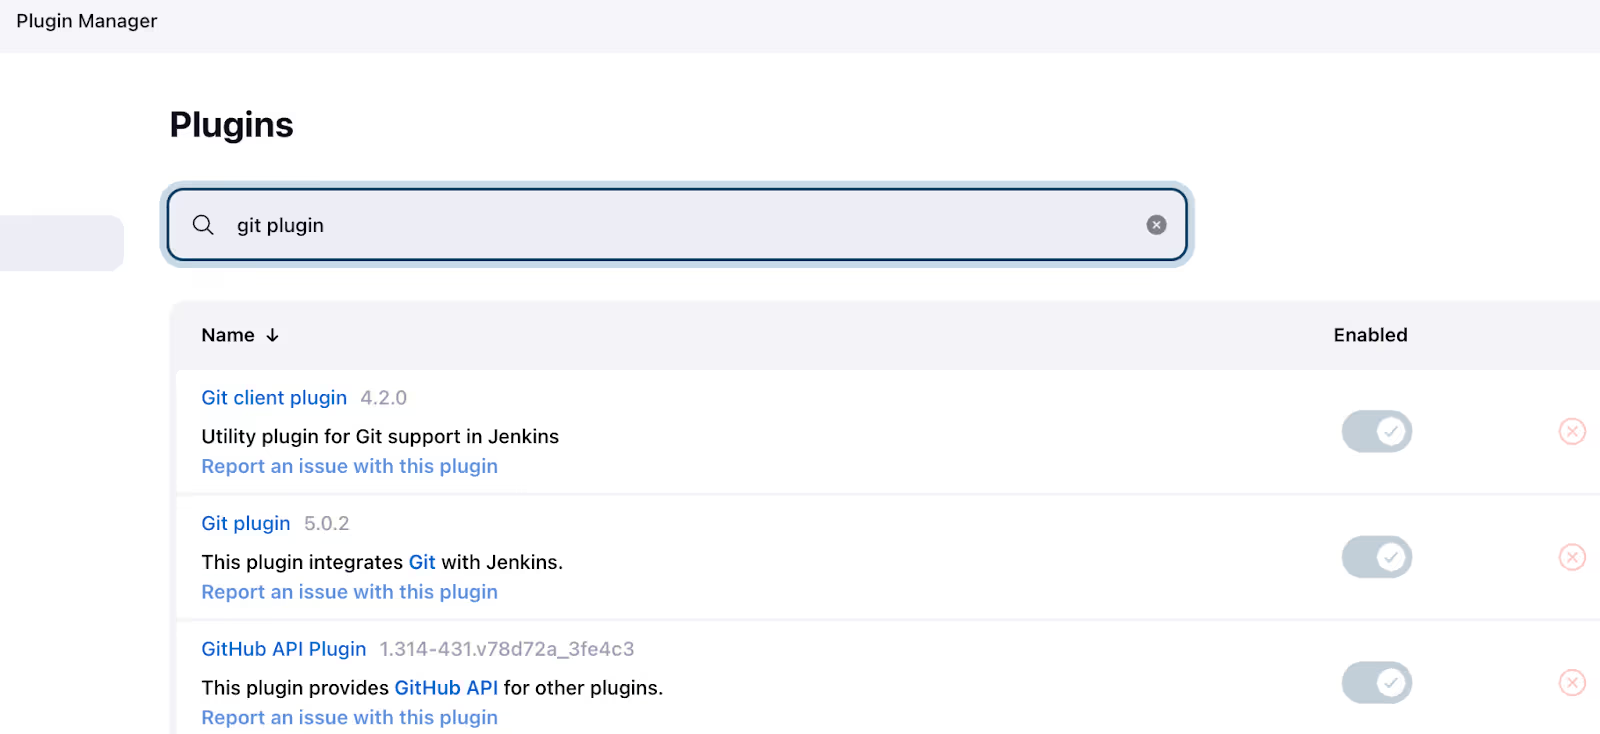
- Search for below plugins and install them:some text
- Maven Integration
- TestNG Results
- HTML Publisher

- After the restart of Jenkins, the Maven Jenkins plugin will be installed successfully and ready for configuration.
Configuring Global Paths in Jenkins
- Open your Jenkins portal and navigate to "Manage Jenkins" > "Global Tool Configuration."
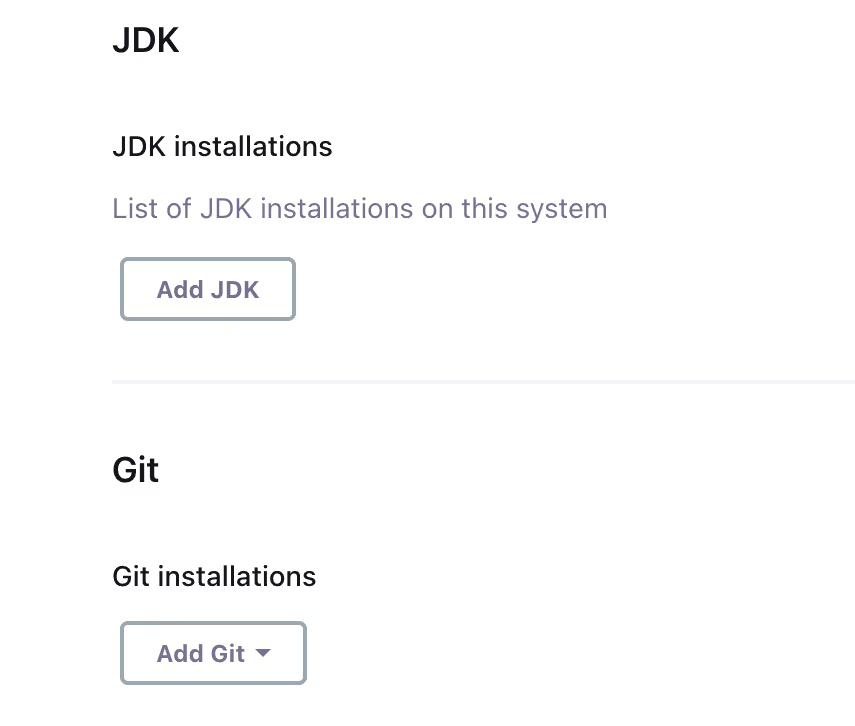
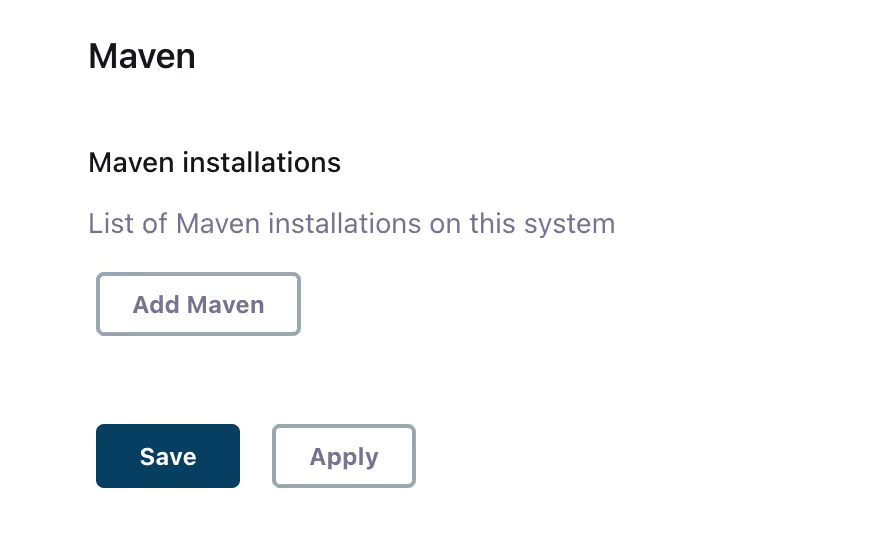
- Add JDK: Provide a name and the JDK installation path.
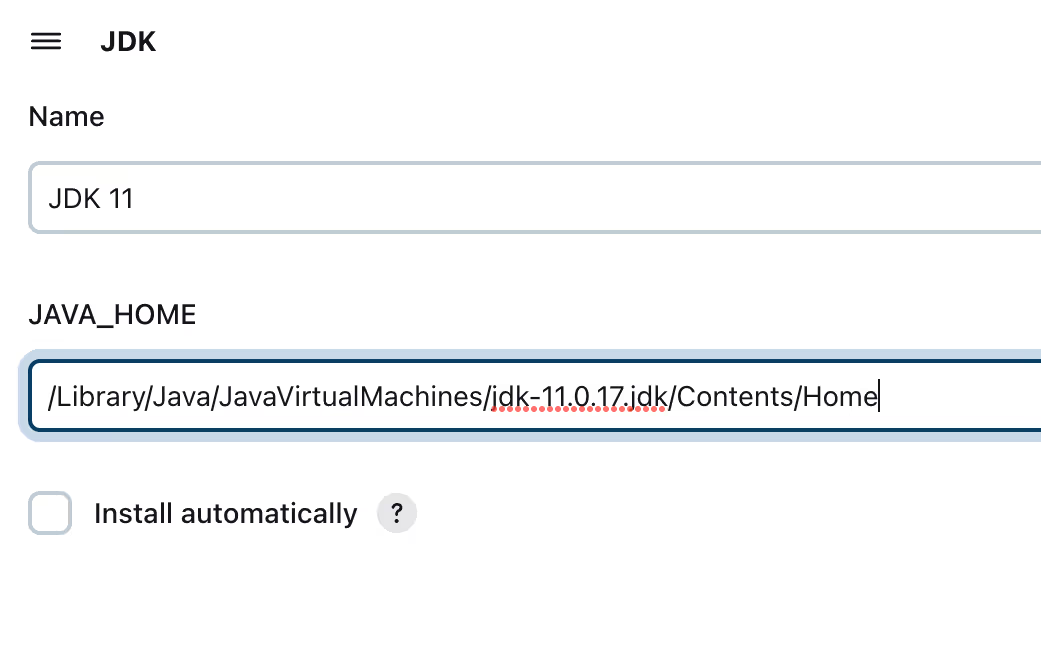
- Add Git: Specify a name and the Git installation path.

- Add Maven: Enter a name and the Maven installation path.
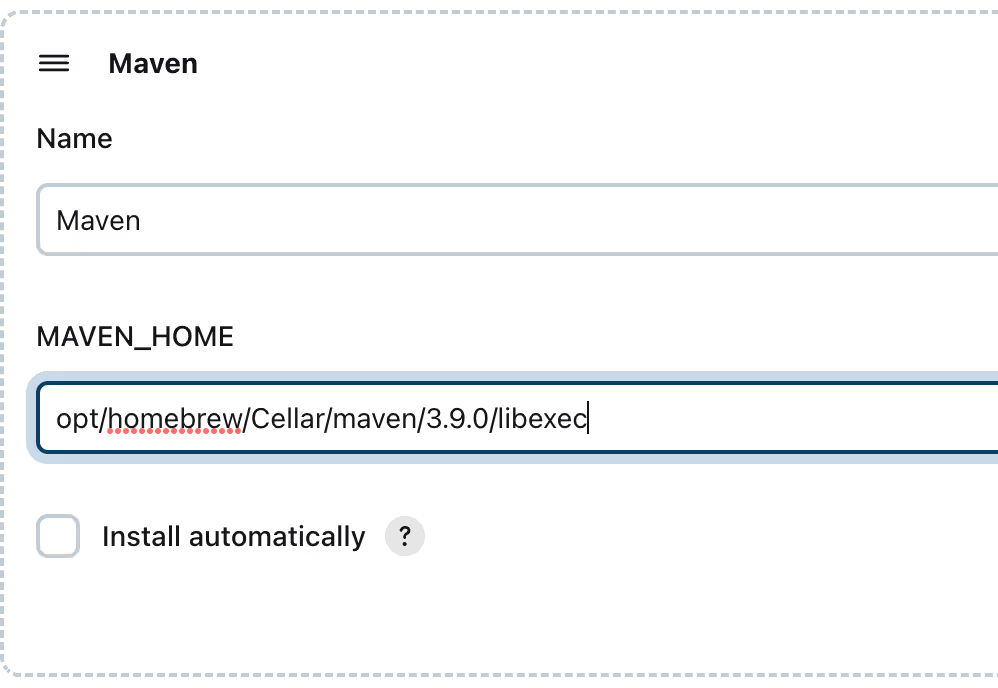
- Click "Apply" and save the configuration.
Creating a Jenkins Job
- Click on "Create a job" in Jenkins.
- Enter a name for the job and select the "Maven project" job type.
- Click "OK" to proceed
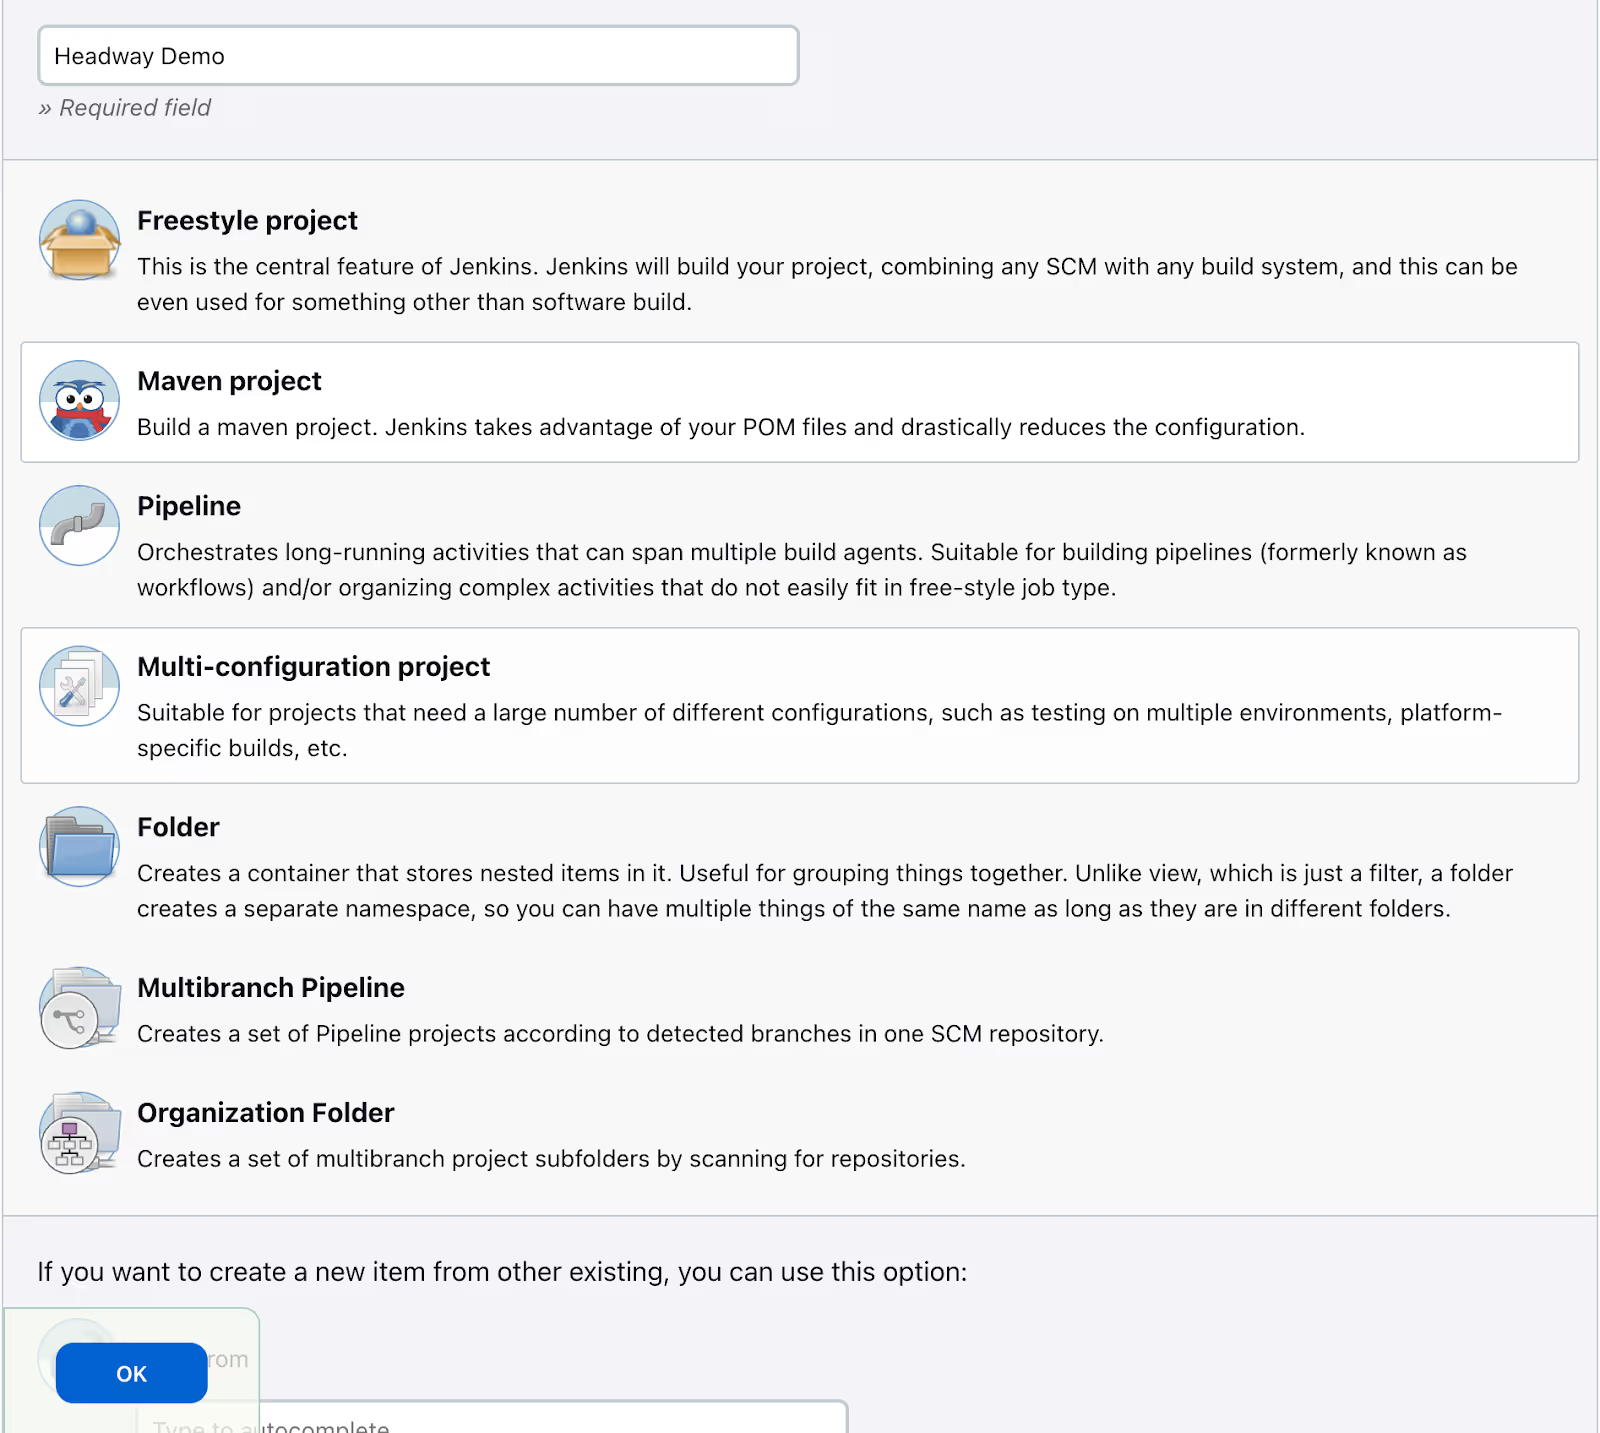
Configuring a Jenkins Job
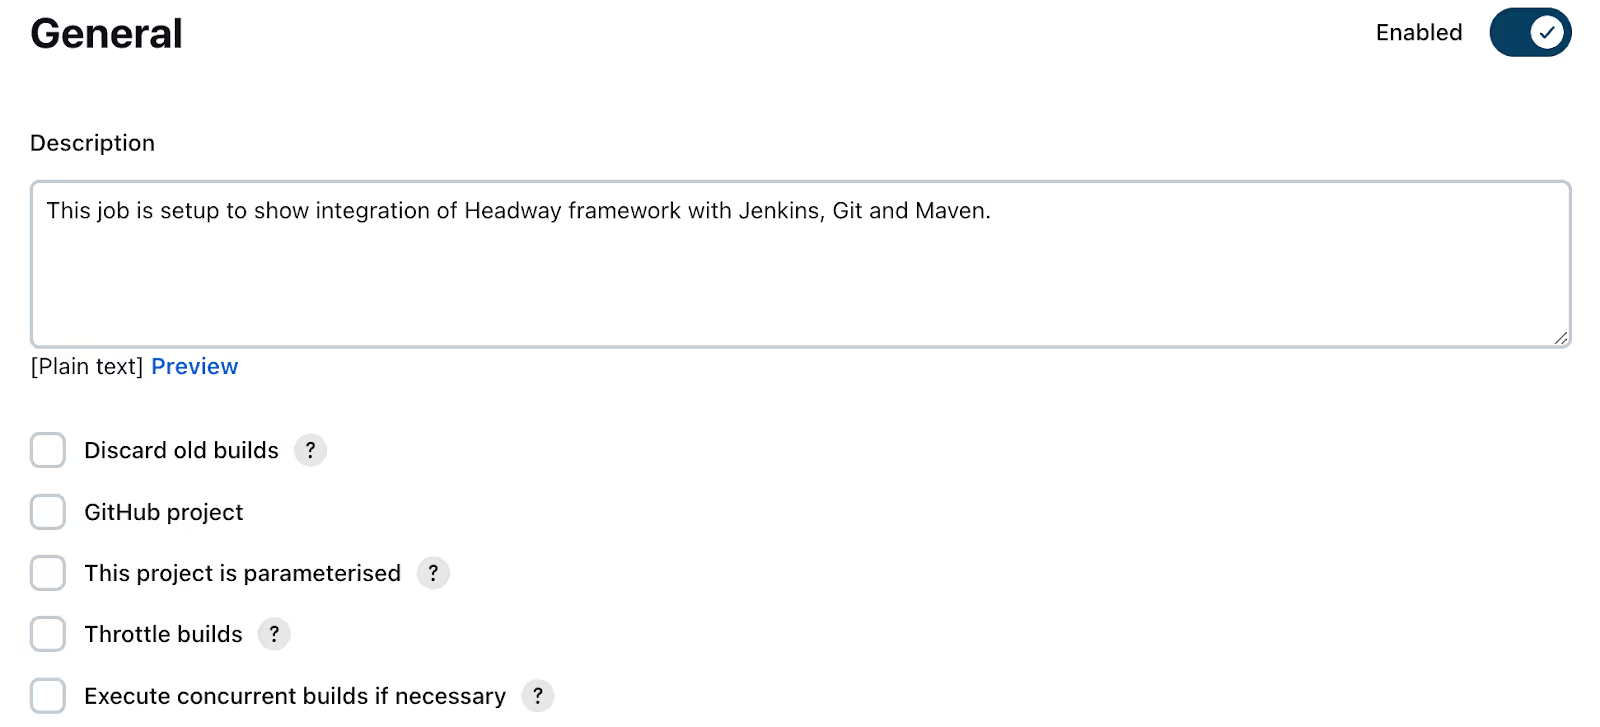
- General: Enter description of the project in the ”Description” field.
- Source Code Management: Paste your Headway project git repository link and specify branch name “master”
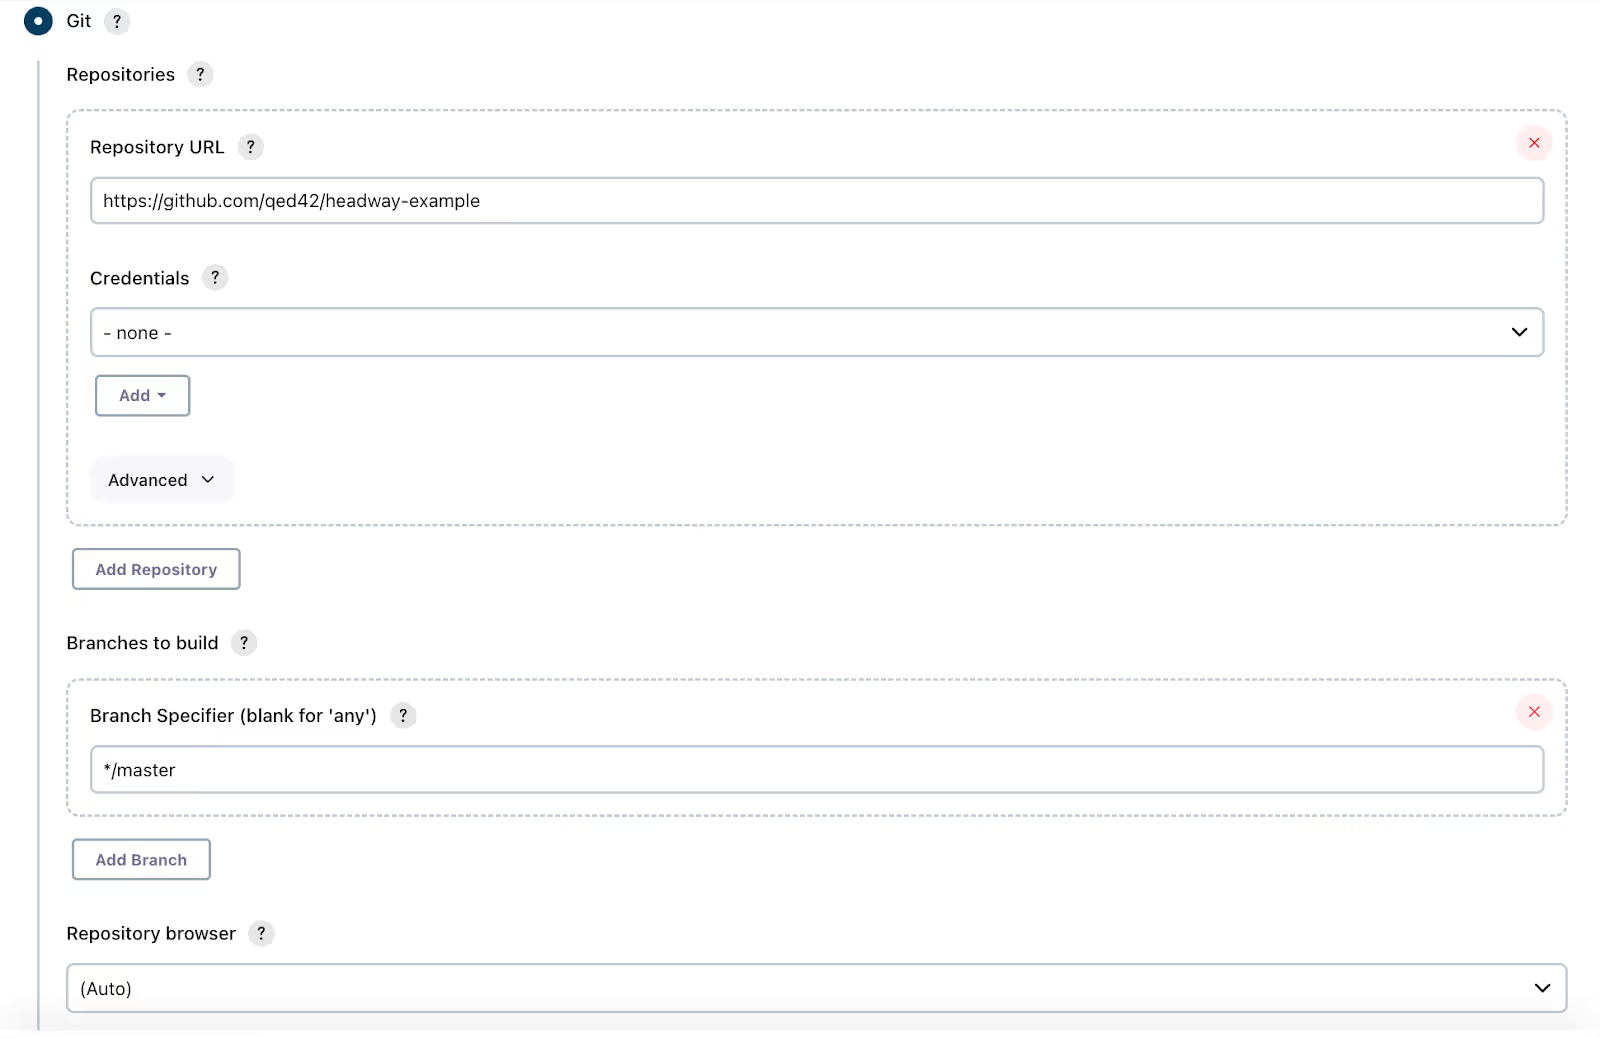
Note : As Headway is open source so no need to enter the credentials of Github.
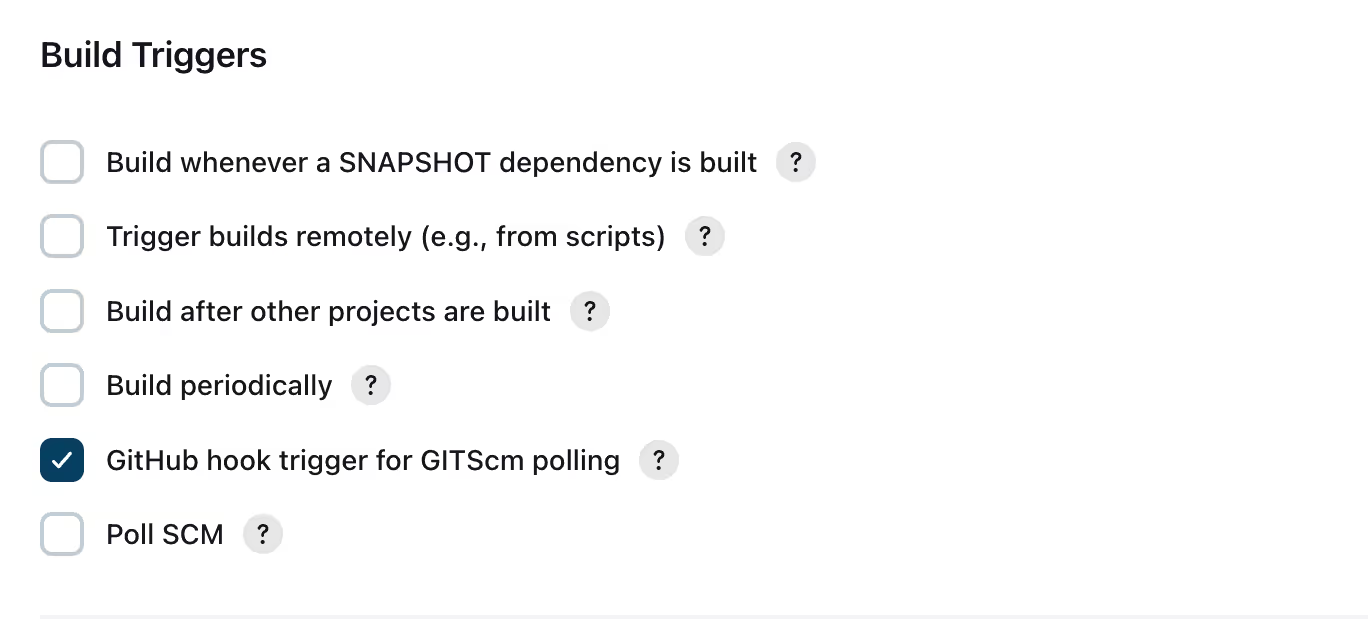
- Build Trigger: Select the option "GitHub hook trigger for GITScm polling".
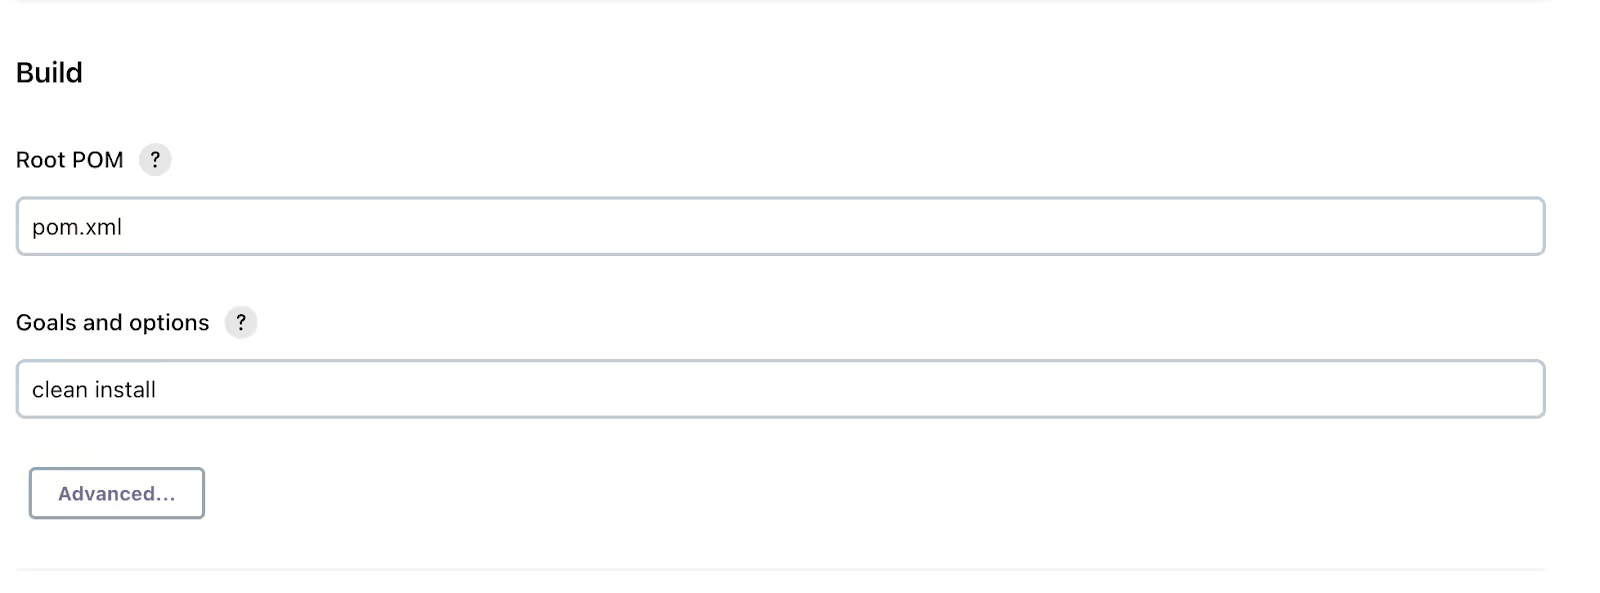
- Build: Provide the relative path to the pom.xml file and enter Maven commands (e.g., "clean install", "test") in the Goals and options field.
- Post-build Actions:some text
- Click on “Add post-build action”
- Add the "Publish HTML reports" post-build action, specify the path and file name.
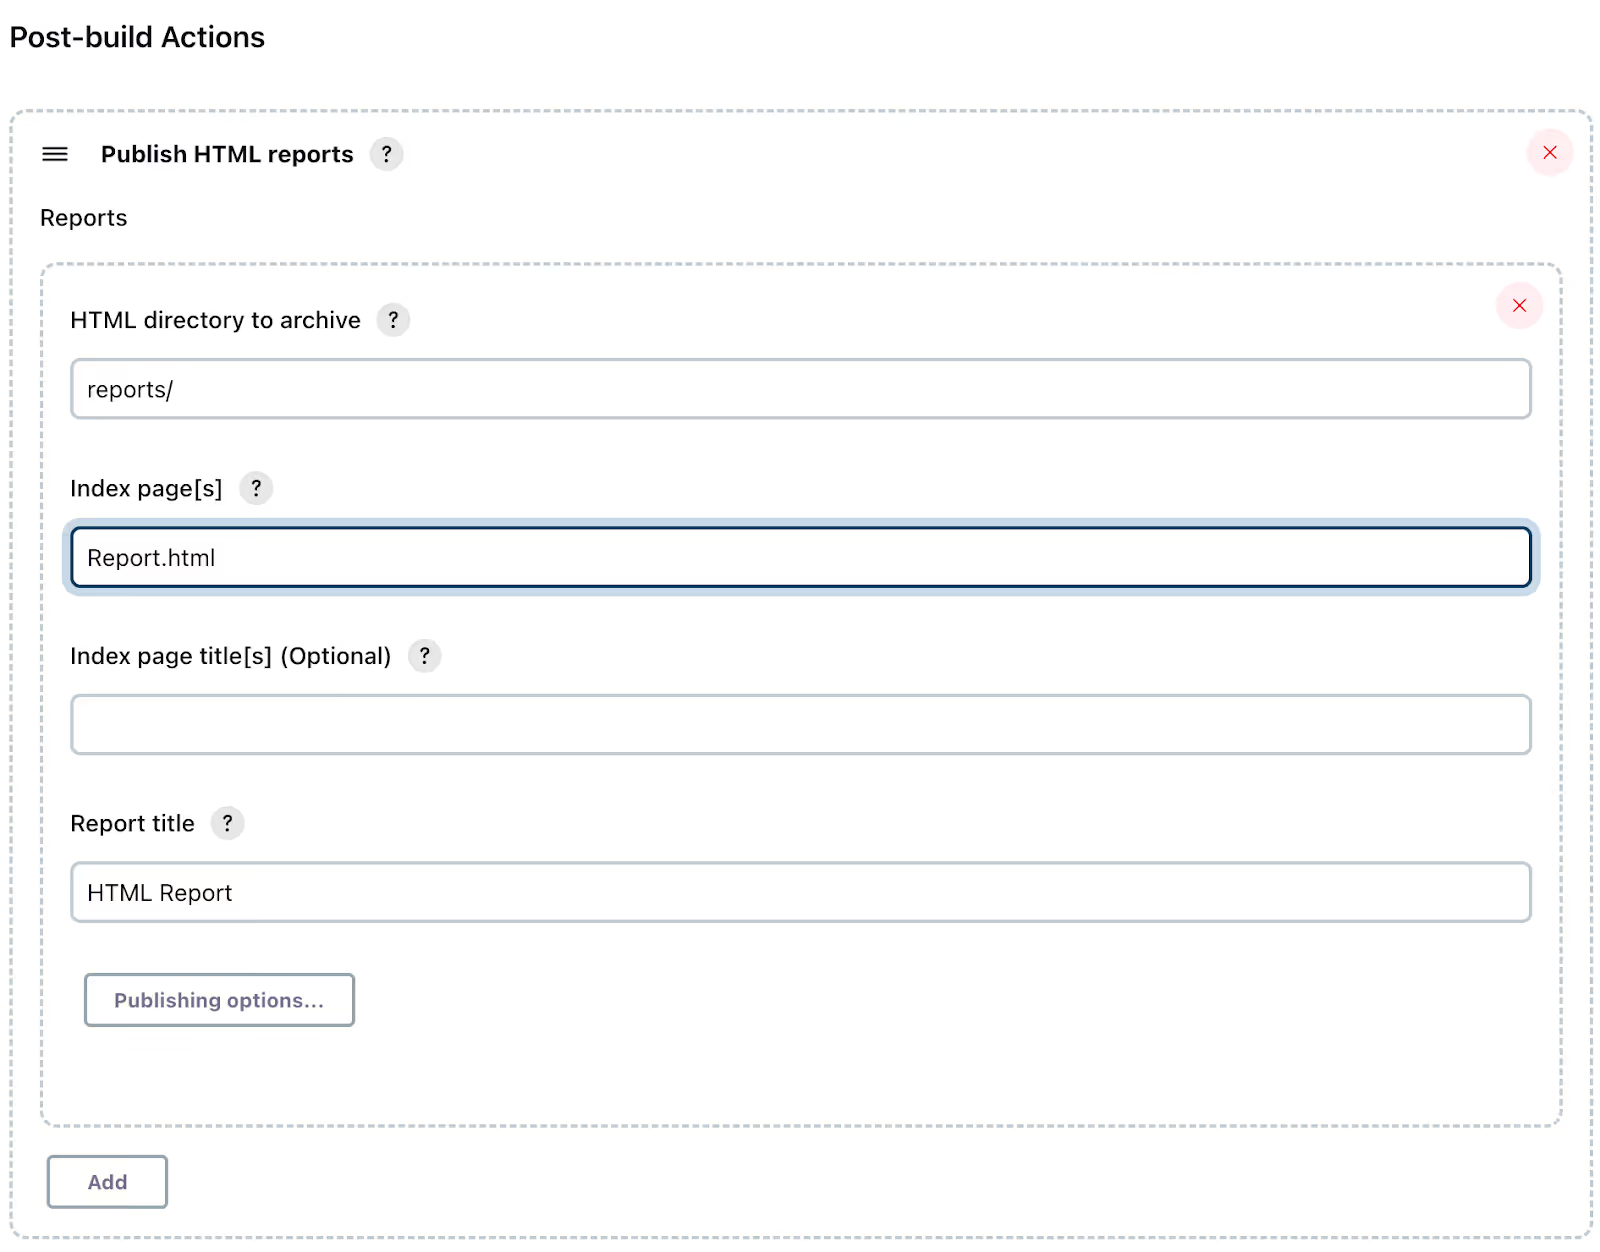
- Click on Publishing options. Enable "Keep past HTML reports" and "Always link to last build" options.

- Again click on “Add post-build action” and add the "Publish TestNG Results" post-build action (optional).

- Click "Apply" and save the configuration. Finally the project is successfully configured.
Execution of Jenkins Job
- Click "Build Now" to run the test suite.
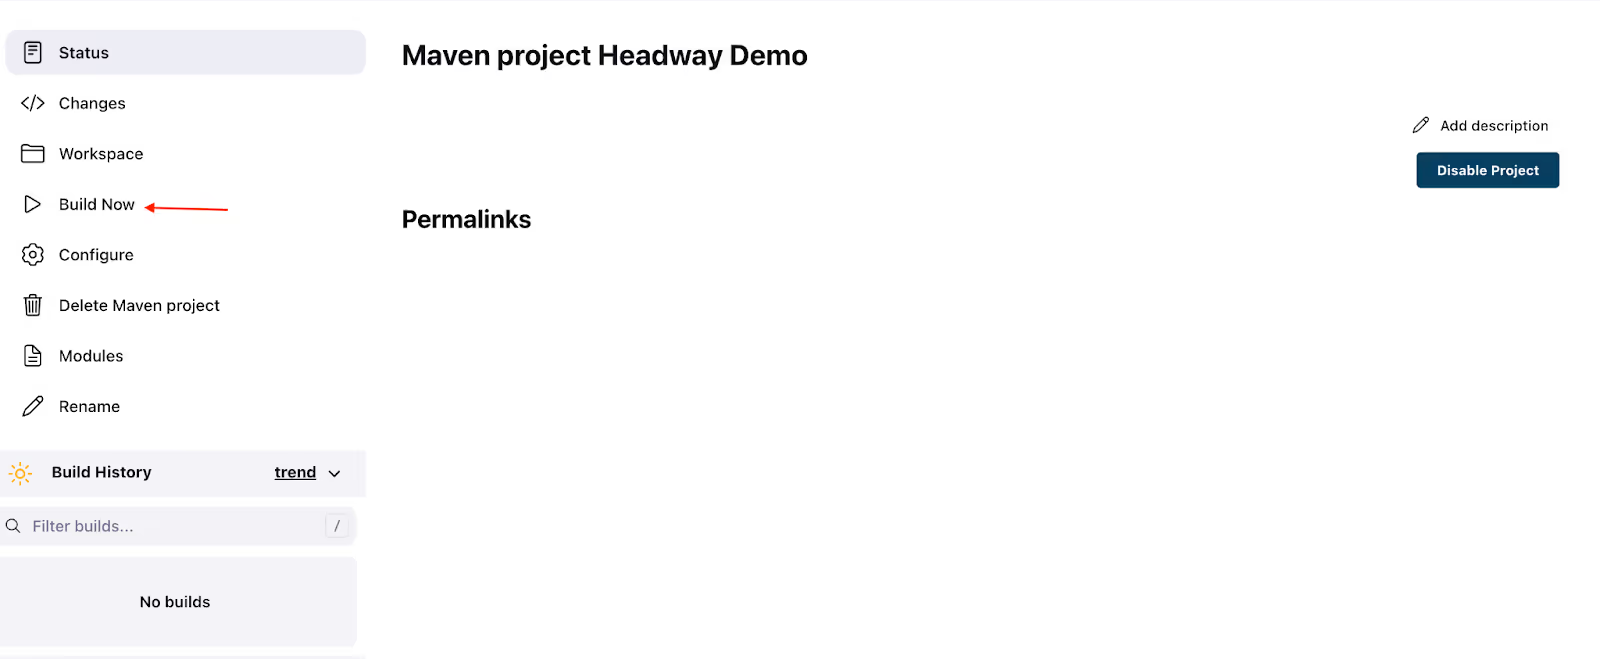
- Monitor the progress by clicking on the build number in the Build History section.
- View detailed execution logs by clicking on "Console Output".
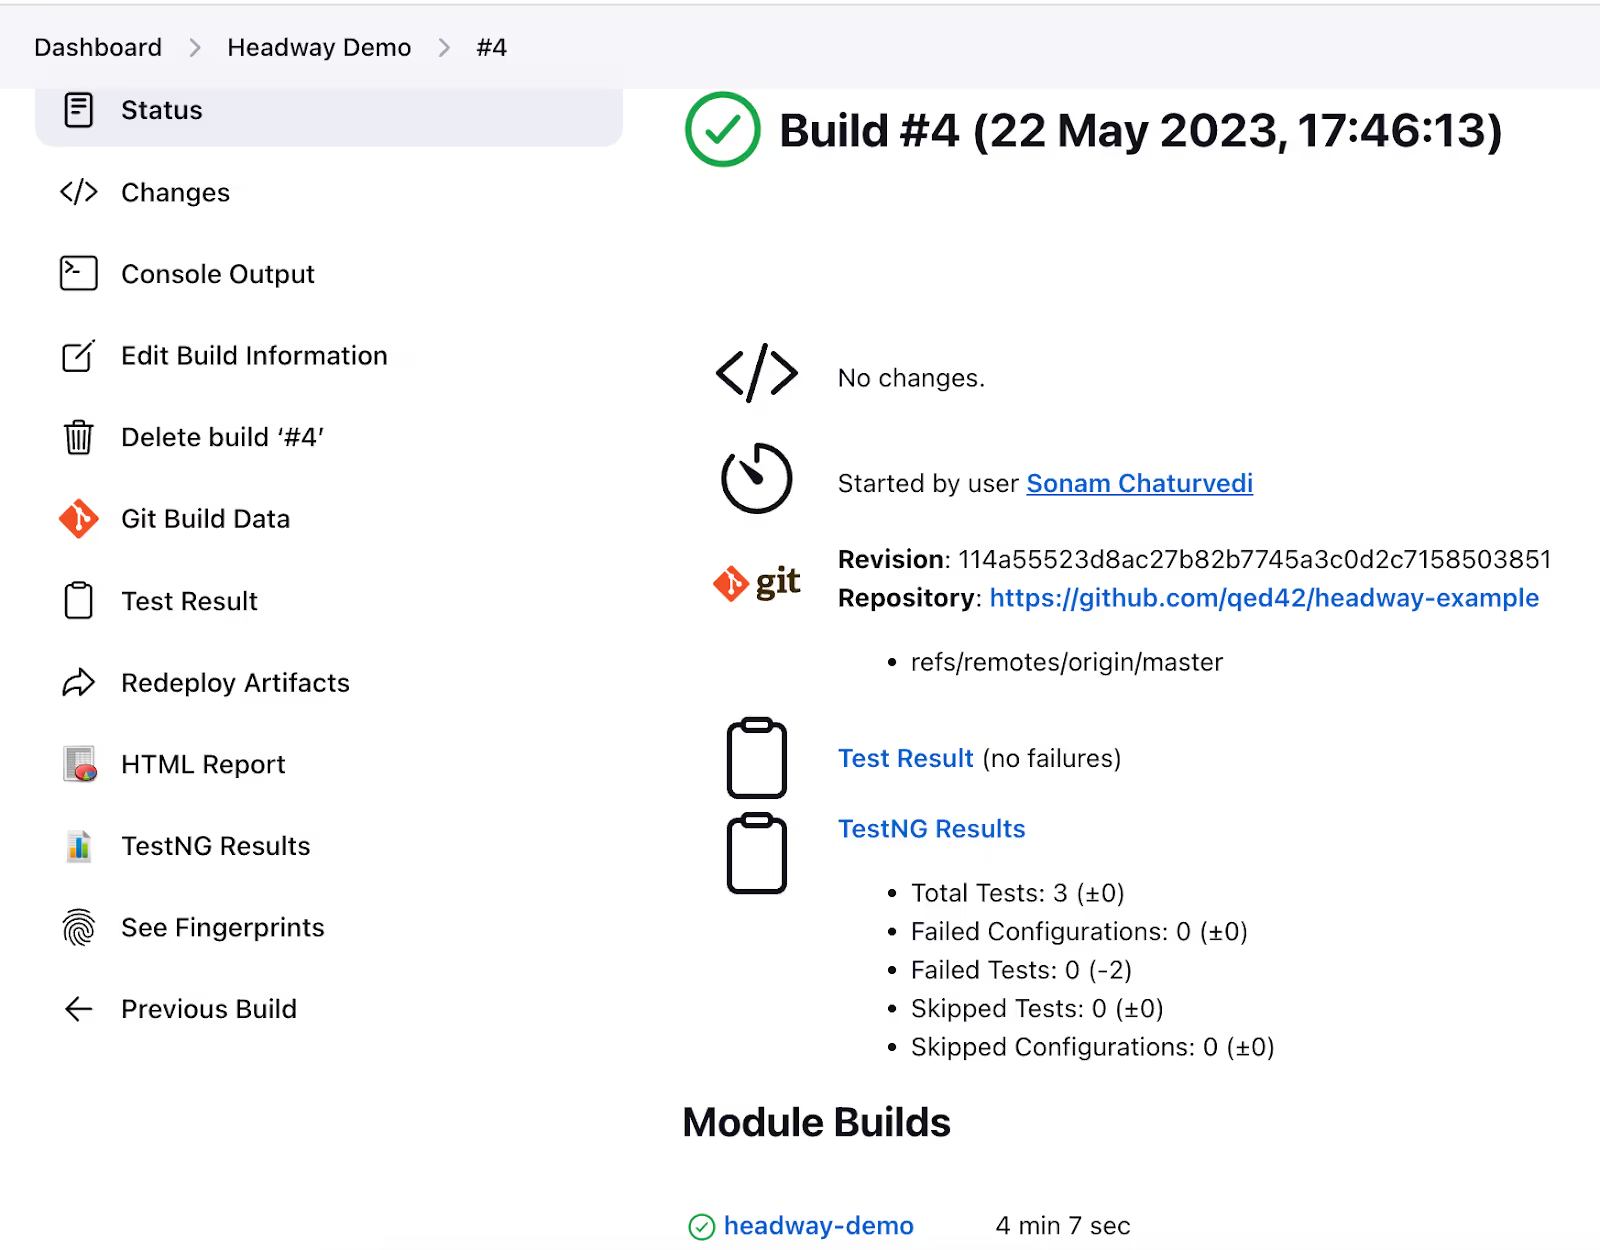
- Access the Extent Report by clicking on "HTML Reports".
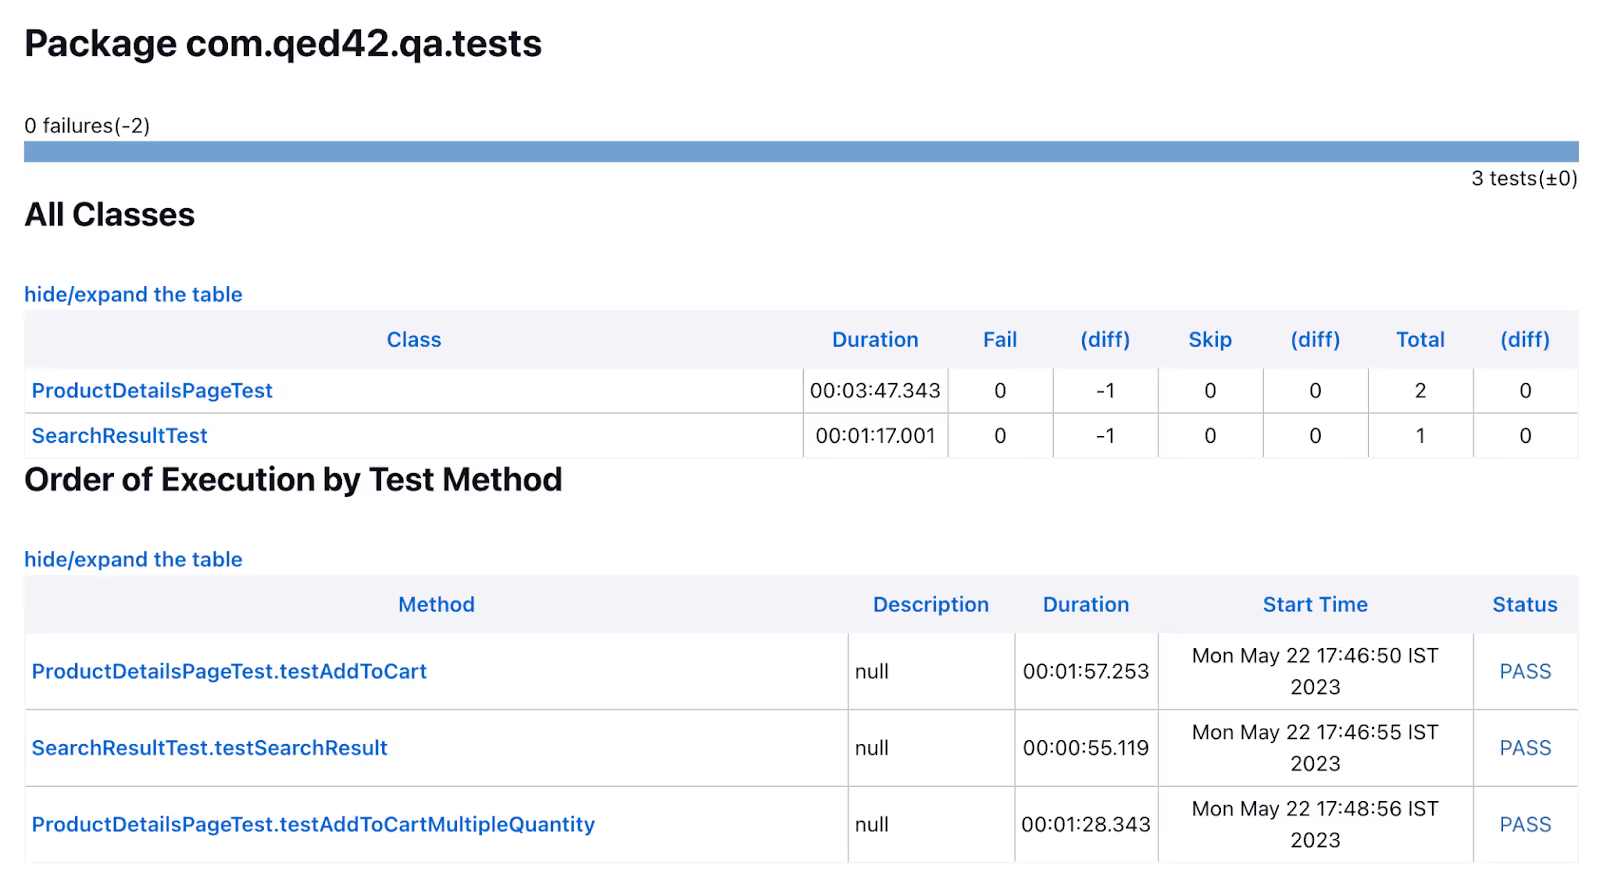
- Check the TestNG report by clicking on "TestNG Results".
Conclusion
By following this guide, you have successfully integrated Headway with Jenkins for an efficient CI/CD workflow. You learned how to configure Jenkins jobs, execute test suites, and access relevant reports and logs. With this knowledge, you can enhance your development process by automating tasks and ensuring smoother software delivery through CI/CD.

