Layout builder is a tool for creating the layouts of an entity. Before, we had to code for creating simple layouts or structures to place our content. With this module, not only developers but also content authors can create layouts. This blog will help you to learn more about the Layout Builder module in Drupal 9 and how to use it.
About the layout builder module
- Layout is the arrangement of different materials like text, images, etc on a page.
- Layout Builder Module allows us to define the layout of landing pages.
- We can create the layout of all the entity types, Node, Comment, Taxonomy, and Menus.
- At a high level, it allows content authors to create a layout for their content. They don’t need to know the code for creating the layouts, they can simply install the module and create sections and add blocks.
- It also gives a DRAG-DROP interface to easily arrange the blocks.
Layout builder consists of two modules:
- Layout Discovery - Provides a way for modules or themes to register layouts.
- Layout Builder - Allows users to add and arrange blocks and content fields directly on the content.
Layout Builder has two main concepts while creating a layout:
- Sections - are columns or containers to place blocks. E.g., it can be a 2-column layout or a 3-column, etc.
- Blocks - is an element of content that we can place in sections.
What purpose does it solve?
As a developer, we know how to code or develop particular features or add content, Right? But a content creator or writer doesn’t know that. They only know “how to add content” and “what to add”. Their main goal is to create, add, arrange, and design content. That's it! Through the Layout Builder Module, the content creators can achieve all their goals. They simply need to enable the module and add sections and content. And if they want to change the layout, they can arrange those sections by drag and drop.
What do content editors think about this module?
Content creators liked the experience of the layout builder, but they found that a lot of options are hidden while adding content.
How to use the layout builder module
- Enable the module - Navigate to Extend and install both the module Layout Builder and Layout Discovery.

- After installing the modules, navigate to Structure -> Content Types -> Article -> Manage Display, scroll down to Layout Options and check the option ‘Use Layout Builder.’ Note: You can enable the module of any entity type - Nodes, Comments, Taxonomy, etc.

- If you want to enable the layout for a different view mode like RSS or Full content, then you can select the options from custom display settings.
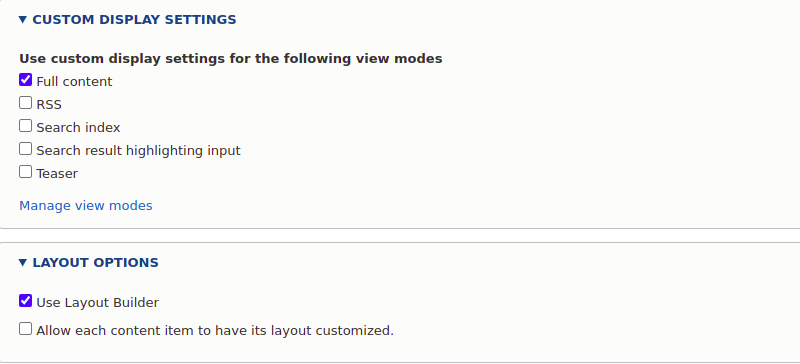
- After clicking the save button, the field table will be removed, and the Manage layout button will be displayed.

- Click on the manage layout button, and you will be redirected to the manage/article/display/default/layout page.
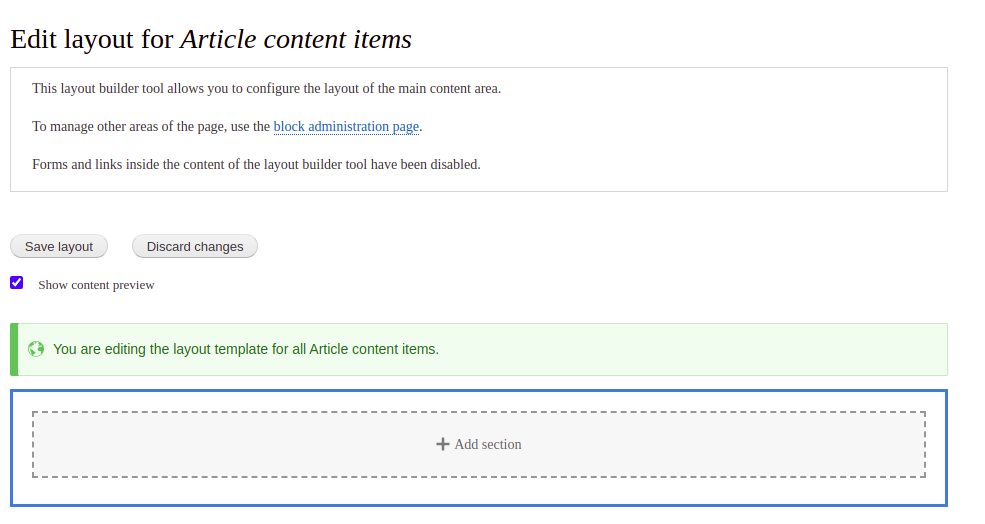
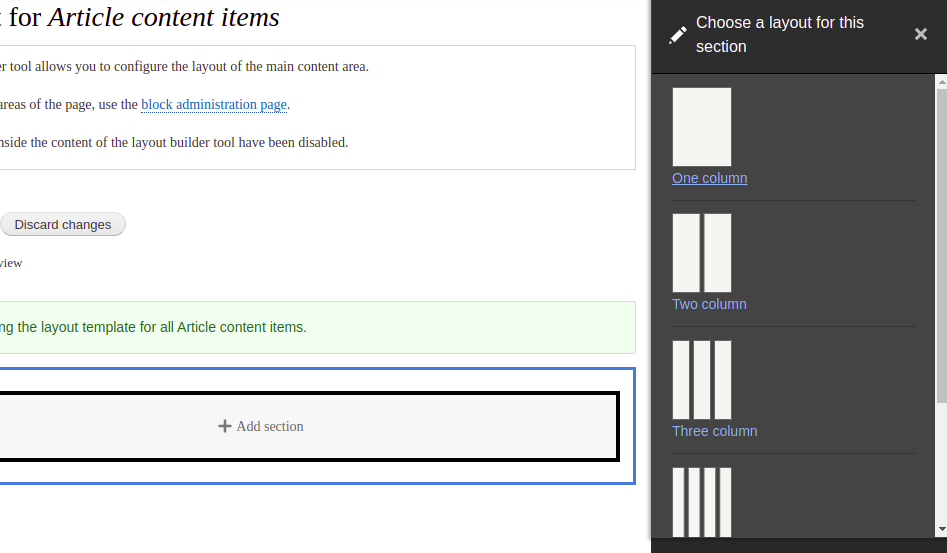
- Click on Add Section and choose a layout.
- Select the width of the columns
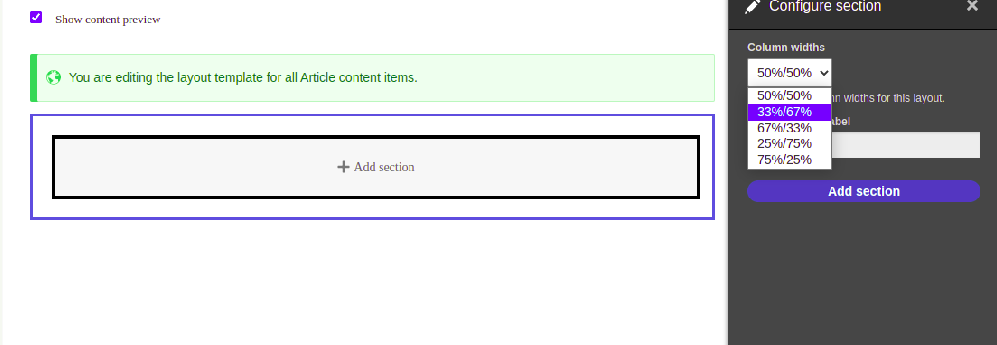
- Here I have added 2 column sections of 50%-50%. Now you can add blocks in sections.
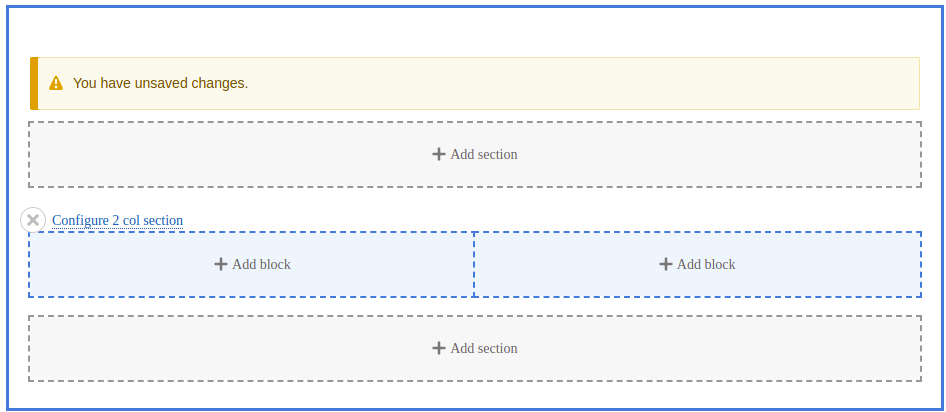
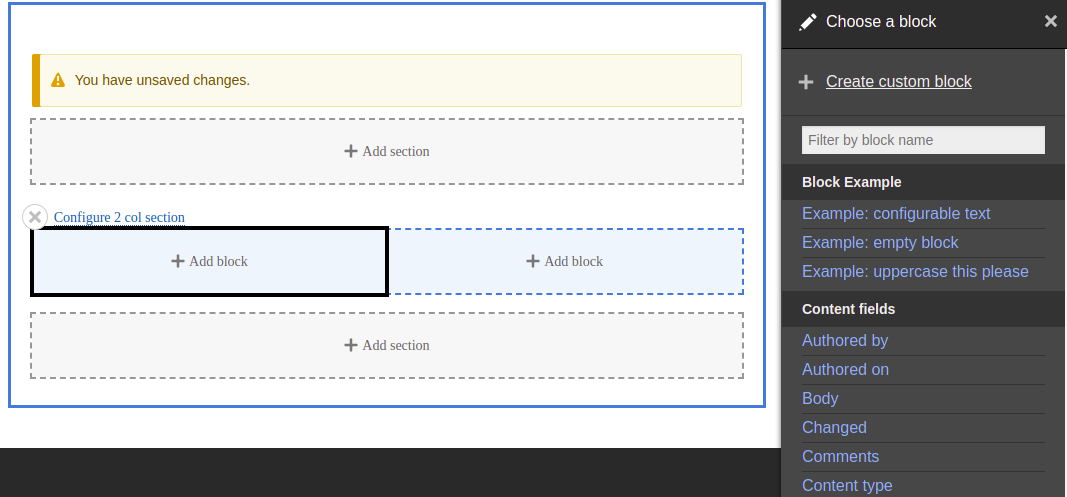
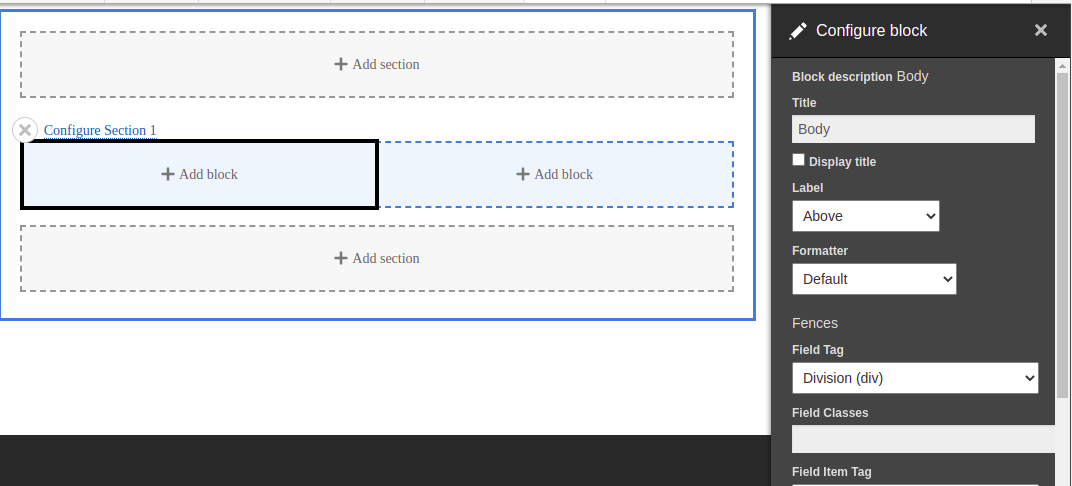
- Configure the block like add title, label, classes, etc.
- You can add multiple blocks in single sections.
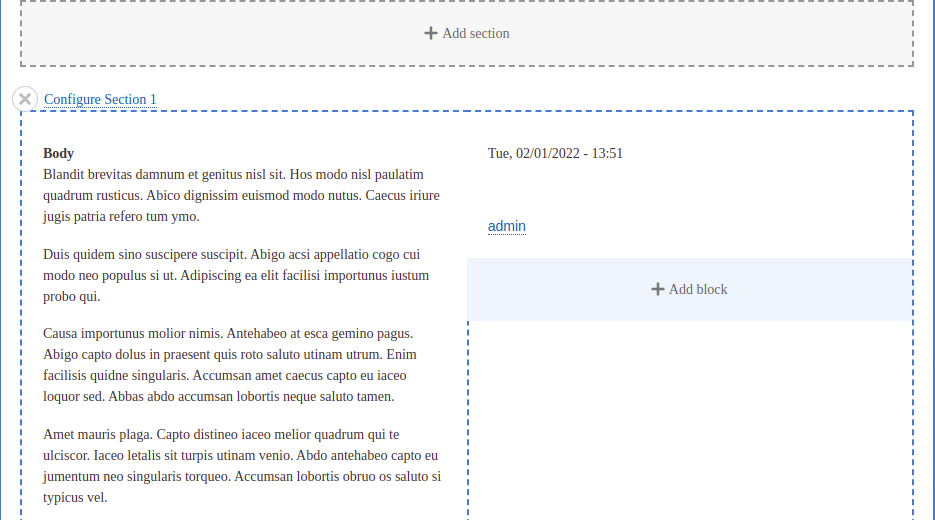
- Once your layout is completed, all sections have been added. Save your layout by clicking on the Save layout button.

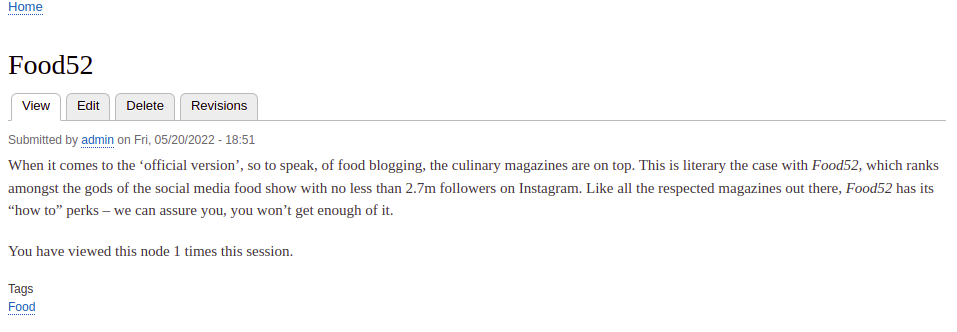
- After saving the layout, visit any article landing page the content of your layout will look like this:
How to override a default layout
The default layout will be created for all the article landing pages. But there can be a requirement where every different article page should have a different layout. In that case, we need to override the default layout.
Go to the Manage display of article content type. And enable the second checkbox, which is “Allow each content item to have its layout customized.”

It will allow you to have different layouts for each article landing page.
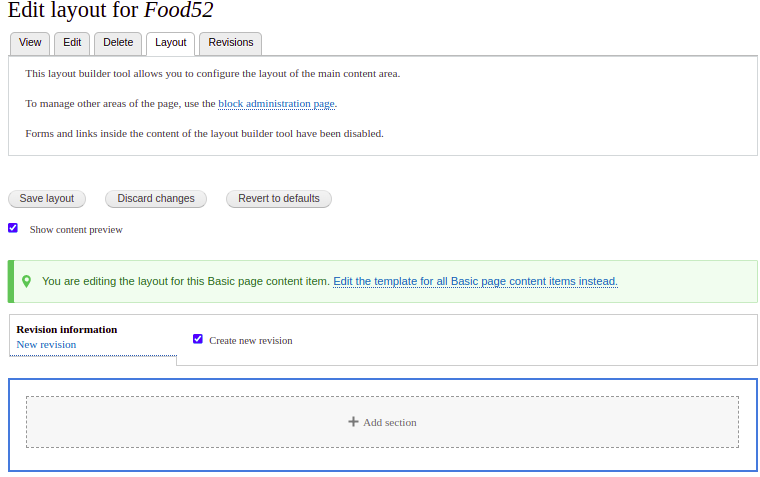
After saving this, navigate to any article landing page to find a layout tab, click on that tab, and it will allow you to create the layouts.

- I have also created a custom layout module where I have created my own layout, which is Grid Layout.
- By enabling that layout, it will allow you to add that grid layout. Also, it has multiple features like removing extra fields when the layout is enabled, and after the layout is disabled, the extra fields are added again in the Manage display table.
- Also, after enabling the module, it sets the ThirdPartySettings to enable and disable the module and add the fields.
Here is the link - https://github.com/Libbna/Libbna-Custom-Layout-Module

